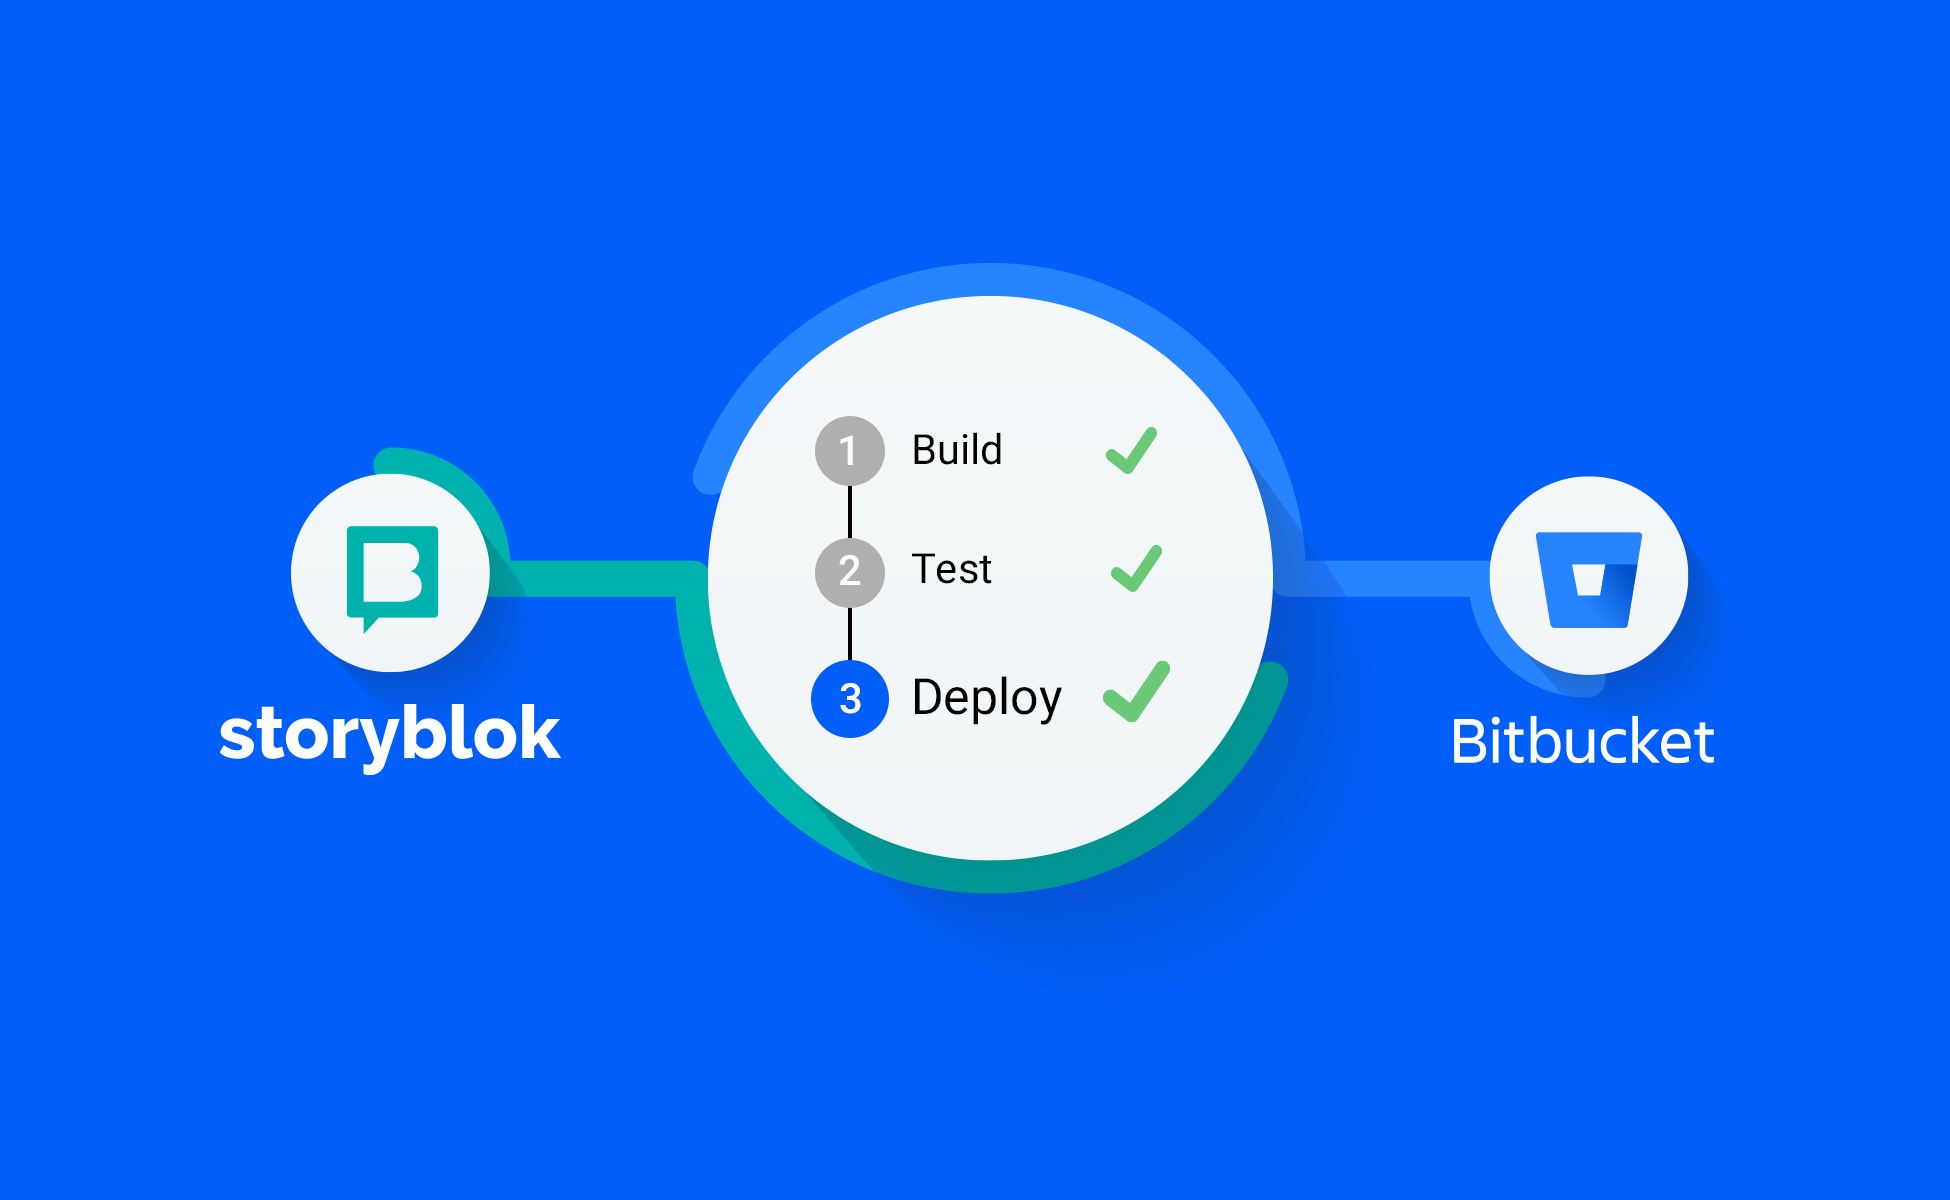

Connecting Storyblok to Bitbucket Pipeline can be incredibly helpful for teams with separate groups for developing the source and contributing content. By integrating the two platforms, developers can automate their content deployments and ensure that changes made in Storyblok are automatically pushed to the targeted environment without their intervention. This can save developers a significant amount of time and effort, as they no longer need to manage content updates and deployments manually. Additionally, connecting Storyblok to Bitbucket Pipeline can help ensure that all team members are on the same page, as everyone can see the latest updates and changes in real-time.

What is the problem with Netlify?
Despite the smooth integration between Storyblok and Netlify, customization is still limited. One of its primary limitations is that it is a cloud-based platform, which reduces user control over the underlying infrastructure and may restrict customization of the deployment environment. This can be a critical issue for users who require specific requirements or need to integrate with other systems unsupported by Netlify. Finally, as with any cloud-based service, there is always the risk of downtime or service interruptions, which can be disruptive to users and their clients.
In addition, it is an unnecessary expense when you have subscriptions on Amazon and Atlassian platforms but have to pay more for the same services on Netlify.
Now we are on the same page! What’s next?

Understanding webhooks is the first step to integrating Storyblok with any outside service. Webhooks are callbacks from the system when a specific event happens. Actually, our automation is only possible with the help of Storyblok’s webhooks.
Unfortunately, you can’t trigger the build process in Bitbucket using webhooks. So you need a service in between to listen for calls from Storyblok and activate the appropriate build process on the pipeline.
To handle calls from Storyblok, we need a server listening for callbacks. Here is an example of a simple NodeJS + ExpressJS server.
The first thing we need to take care is creating an endpoint for the POST request from Storyblok

To ensure the request is valid, I created middleware to check for signatures of the payload in the request header. You must enter the secret code in the Storyblok settings to activate signatures.
Here is the code in webhook handler:

It compares the signature from the payload to the one it got in the request header. If the request is valid and coming from the Storyblok server, then they should be identical.
Looking back at the API code, we expect to receive a payload from the request. An example of a body is as follows:
Then, based on the action in the payload (we only support “published“) we are calling a method to start a build process in Bitbucket
And this is the Bitbucket trigger function:

We are using the bitbucket npm package npm: bitbucket for handling Bitbucket integration.
NB! don’t forget to replace the variables in config folder with your correct data.
Now you have all you need on your code. run the server code on your machine and wait for requests.
npm install
and
npm start
How to debug
If you wish to run the server on your local machine and get a real call from Storyblok, you need to either do lots of configurations to expose your local server on the Internet or use services such as ngrok.
ngrok Secure Tunnels allow you to instantly open access to remote systems without touching any of your network settings or opening any ports on your router. This means you get a secure, reliable tunnel for your developer box, IoT device, or just about anything that has access to the internet.
To set up and install the service on your machine, follow the instruction on the page https://dashboard.ngrok.com/get-started/setup
Just keep in mind that your local service port in step 3 is 3000, not 80. So the command should look like this:
ngrok http 3000
You should see a similar result in your terminal
Now you can take the public URL from the Forwarding section of the terminal or directly from the online dashboard-Endpoints
in my machine, the address is:
https://f4ed-85-253-16-125.eu.ngrok.io
Add the webhook at the end
https://f4ed-85-253-16-125.eu.ngrok.io/webhook
Now it is time to enter the full URL in Storyblok settings as a webhook URL for “Story published & unpublished.”

You need to enter the same code from the webhook config in the “Webhook logs” section.
Modify something in your content and click on publish. You should catch it on your local server.
Conclusion
This article explains how to connect Storyblok and Bitbucket pipeline step by step. The process can be further improved by adding a connection to collaboration systems such as Slack or notifying the involved users by email. Furthermore, in the event of an error, you can notify the development or infrastructure teams. The number of requests is no longer limited.