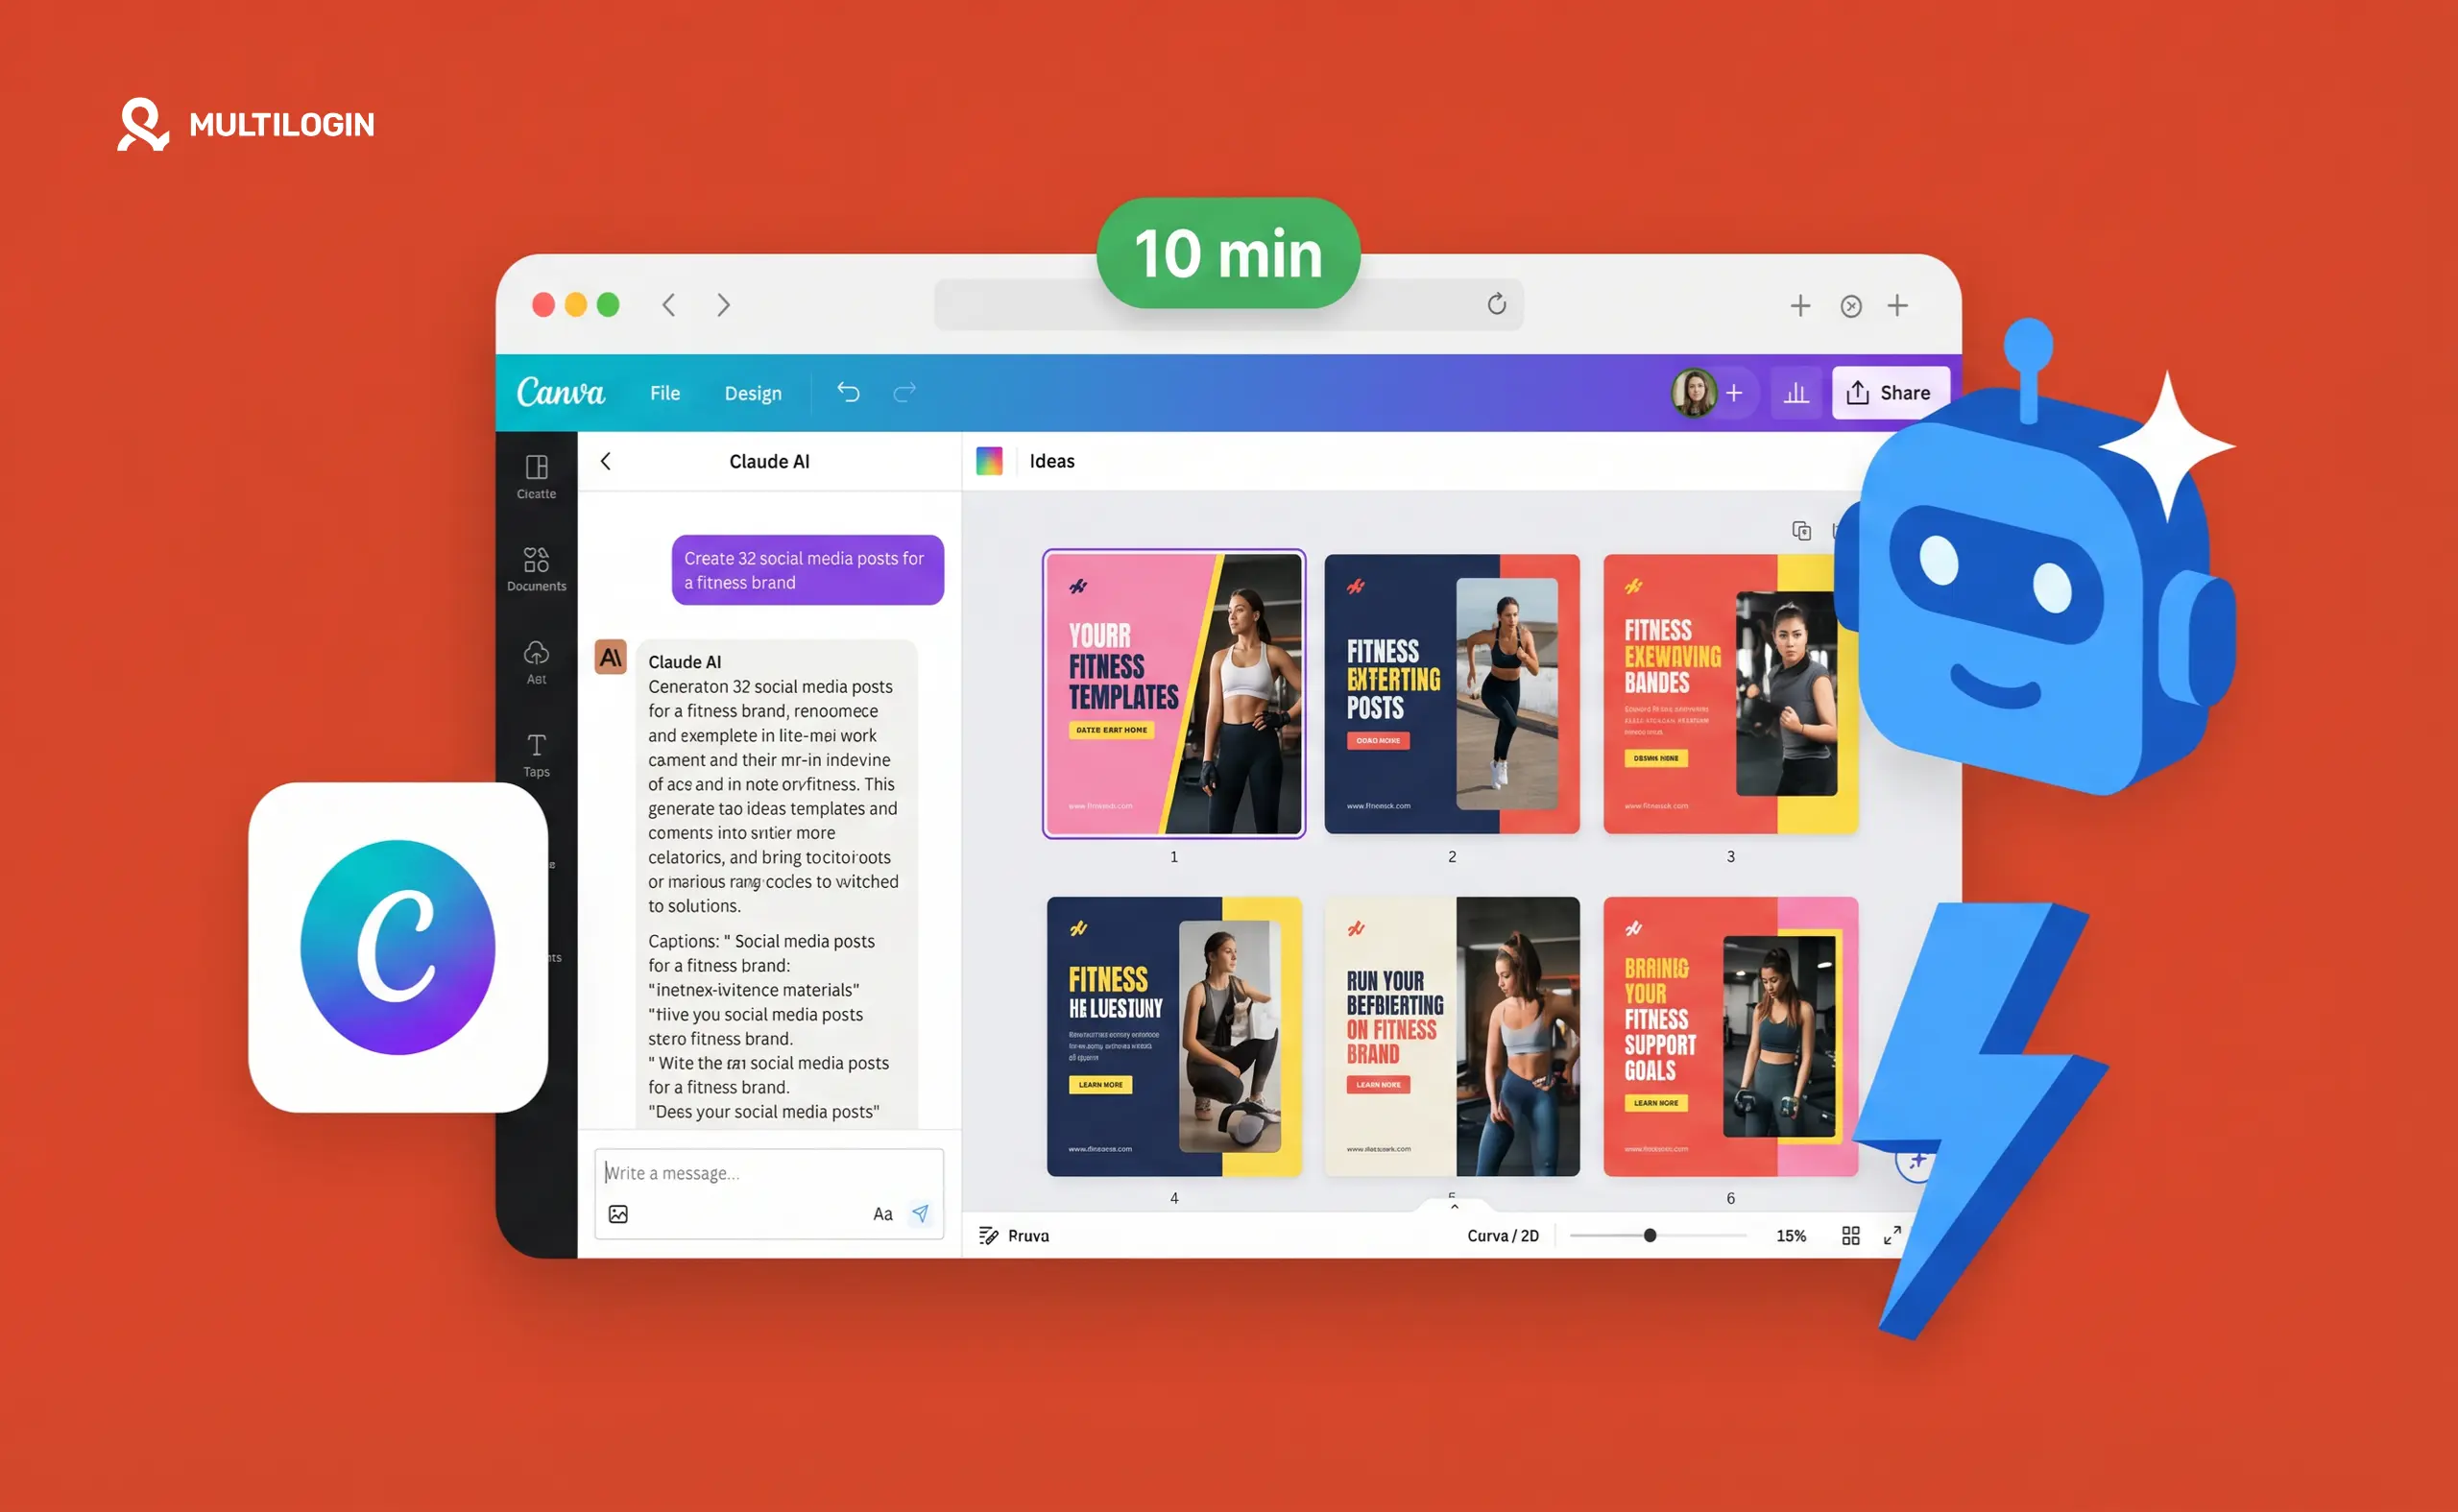

If you’re producing social media content for multiple clients or accounts, you’ve probably run into the same wall: every post takes longer than it should, because you’re re-deciding things that were already decided last week. What font goes here? Which brand color? Does this copy sound right?
The Claude + Canva workflow solves that. It’s a system that makes visual decisions once (inside a Canva Brand Kit) and copy decisions once (by training Claude on your brand guidelines), then runs both as a team every time you create content. The result is on-brand posts in significantly less time, without the quality dropping as volume increases.
This guide walks through the full setup, from connecting the tools to running a content batch to what you need to think about when you’re managing social media for multiple clients at scale. If you’re using Claude for social media work already, the Claude AI workflow for managing multiple social media accounts is worth reading alongside this.
Why this workflow works (and where most people go wrong)
The common mistake: opening Claude, typing “write me 5 Instagram captions for a wellness brand,” getting something generic, editing it for 20 minutes, and calling it done.
The problem isn’t Claude. It’s the prompt. Claude without brand context produces brand-agnostic output. You wouldn’t hire a copywriter and skip the briefing, the same applies here. Five minutes spent setting up brand context at the start of a session saves an hour of editing bad drafts.
The same logic applies to Canva. Using Canva without a Brand Kit means making color, font, and layout decisions on every single post. With a Brand Kit, those decisions are locked in. You open a template, and the brand is already there.
The system only works if both sides are set up properly. Here’s how.
Step 1: Build your Canva Brand Kit (do this once per client)
A Canva Brand Kit is the visual memory for a client’s brand. Once it’s built, every template you open pulls the right colors, fonts, and logos automatically.
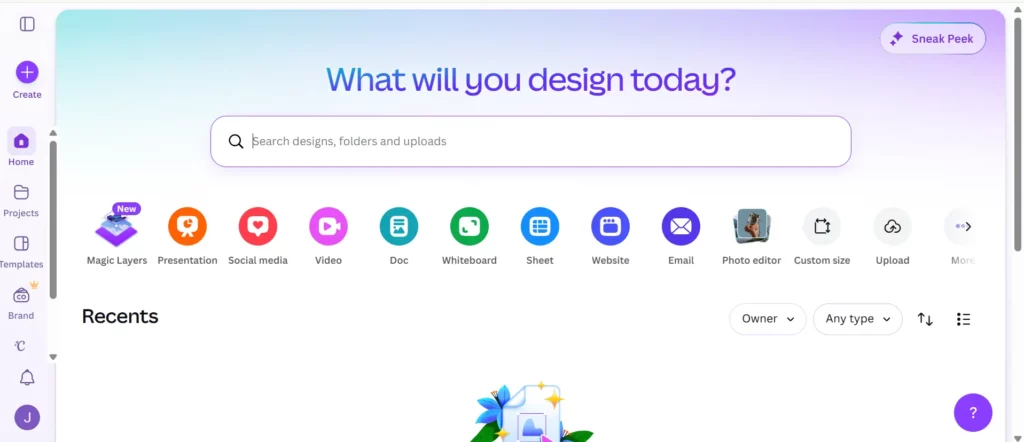
Go to Canva, open Brand Hub (available on Pro accounts), and create a new brand for the client. Add:
Colors: Their primary and secondary hex codes. Six well-chosen colors beats a palette of 40 you have to scroll through. If you’re not sure which colors are primary, pull them from their existing website or existing marketing materials.
Fonts: The exact font names and weights for headlines, subheadings, and body text. If the client uses a custom font not available in Canva, pick the closest match and document the substitution.
Logos: Upload all logo variations, full color, white, black, with and without tagline. Having all versions ready means you’re not hunting for the right file mid-design.
Once the Brand Kit is built, the next time you start a design for this client, Canva’s Styles panel offers one-click application of the entire brand palette. You can push brand colors and fonts across every slide in a carousel with a single click, not one slide at a time.
A solid Brand Kit also makes your social media content calendar more useful. When design decisions are automated, you can focus the calendar on content decisions: what to say, when to post, which pillar each piece serves.
Step 2: Connect Claude to your Canva workspace
This step takes two minutes and you only do it once per account.
Go to claude.ai, open Settings, then Connectors. Search for Canva and click Connect. Canva redirects you to an authorization page, log in and grant permissions.
Once connected, when you start a new Claude chat, click the Tools icon and toggle Canva on. Claude can now search your Canva workspace, open existing designs, edit them, and create new ones directly from the conversation.
What this means practically: you can ask Claude to fill in the remaining slides of a carousel you built manually on slide one, and it will do it, matching your layout, applying the copy you specify, saving back to Canva. You can ask it to review a design and give feedback on brand consistency. You can have it generate copy for a post and simultaneously build the Canva asset.
The two tools working together cover what neither covers alone. Canva is precise and visual but slow if you’re starting from blank. Claude is fast and contextual but can’t produce a finished design file. Together, the first draft is faster and closer to done.
Step 3: Train Claude on your brand guidelines
This is the step most people skip, and it’s the one that makes everything else work better.
At the start of any Claude session for a client, drag your brand guidelines PDF directly into the chat window. If you don’t have a formal PDF, paste the key information as text: brand colors, fonts, tone descriptors, content pillars, example posts that hit the mark, things the client would never say.
Then give Claude a role before you ask it to produce anything:
“You’re a senior social media strategist for [Client Name]. Here are their brand guidelines. Review them and confirm you understand the tone, visual style, and content pillars. Ask me two or three questions if anything is unclear. Don’t create anything yet.”
Test the knowledge before using it. Ask Claude to describe the brand’s voice in three sentences. Ask what content pillar a specific topic would fall under. If the answers don’t sound right, correct them now, not after 10 captions have been generated in the wrong direction.
This setup adds five minutes to the start of a session. It saves 30–40 minutes of editing later. The Claude AI guide for social media managers goes deeper on how to structure these briefing sessions for consistent output across different client accounts.
Step 4: Run the content workflow
With the Brand Kit set and Claude briefed, content production becomes a fill-in-the-framework exercise rather than a blank-page exercise.
Finding templates the right way
Rather than browsing Canva’s template library manually, ask Claude what to search for. Based on the brand guidelines and the content you’re producing, it will suggest specific search terms that narrow the template pool to options that are likely on-brand. Search for those, scan the results against what you know about the brand, and pick the closest match.
Once you have a template, screenshot it and paste it into Claude. Ask it to give you a numbered list of edits, most important changes first. This becomes your build sequence: you’re not deciding what to change, you’re executing a prioritized list.
Building the content
Work through the edit list in Canva. Canva’s Styles panel handles the heavy lifting on color and typography, one click pushes the Brand Kit across every slide. Swap images, update copy, adjust layout.
When you’re ready for Claude to fill in the rest of a carousel or apply the same treatment across multiple slides, paste the template back into the chat and ask it to complete the remaining pages. Claude will tell you if there are any manual steps it needs you to do first before it can take over.
Canva’s AI tools worth knowing
A few Canva AI features accelerate specific parts of this workflow:
Magic Resize is the biggest time-saver for multi-platform content. Once a design is done, resize it in one step to every format you need, square post, Story, landscape, Reel cover, LinkedIn post, YouTube thumbnail. What would take 15 minutes of manual resizing takes 30 seconds.
Magic Write generates text within Canva designs. Useful for quick headline variations and button copy. Less useful for full captions, where Claude with proper brand context produces better output.
Background Remover is genuinely useful when you’re working with client photos that weren’t shot against a clean background. One click, usable result. Much faster than masking manually.
Magic Eraser and Magic Grab are situational tools for object removal and layer separation. Good to know they exist; you’ll reach for them occasionally rather than regularly.
Debrief after the first session
Once you’ve built the first batch of content for a client, feed the finished designs back into Claude and ask it to document what worked. What visual patterns came through? What copy structure performed well in the brief? What was consistent across the assets?
This debrief becomes the starting context for the next session. Over time, Claude gets sharper on the first draft because it has accumulated outputs to reference, not just guidelines. If you’re posting at the right times, checking when to post Reels for your specific audience or when TikTok content performs best, the combination of better content and better timing compounds.
What this workflow does and doesn’t solve
It does solve: visual consistency, copy speed, brand coherence across formats, the time lost to blank-page decisions.
It doesn’t solve: the account isolation problem that shows up when you’re running multiple client accounts from the same device.
This matters for social media managers and agencies more than the content tools do, because it’s the thing that actually puts client accounts at risk.
When you log into Instagram for Client A, then switch to Instagram for Client B on the same device, both sessions run through the same hardware fingerprint. Instagram, TikTok, and Facebook all read device-level signals that persist across sessions, across browser switches, across logouts. When platforms detect multiple accounts sharing these signals and one account gets flagged for any reason, that flag associates with every account that shares the same device history.
The practical consequence: one client’s account gets restricted, and two other clients’ accounts start hitting friction they didn’t cause. This is a known failure mode for agencies managing multiple Instagram accounts or running multiple TikTok accounts and multiple Facebook accounts from a shared environment.
No scheduling tool, AI assistant, or content workflow addresses this. It’s a device-level problem and it needs a device-level solution.
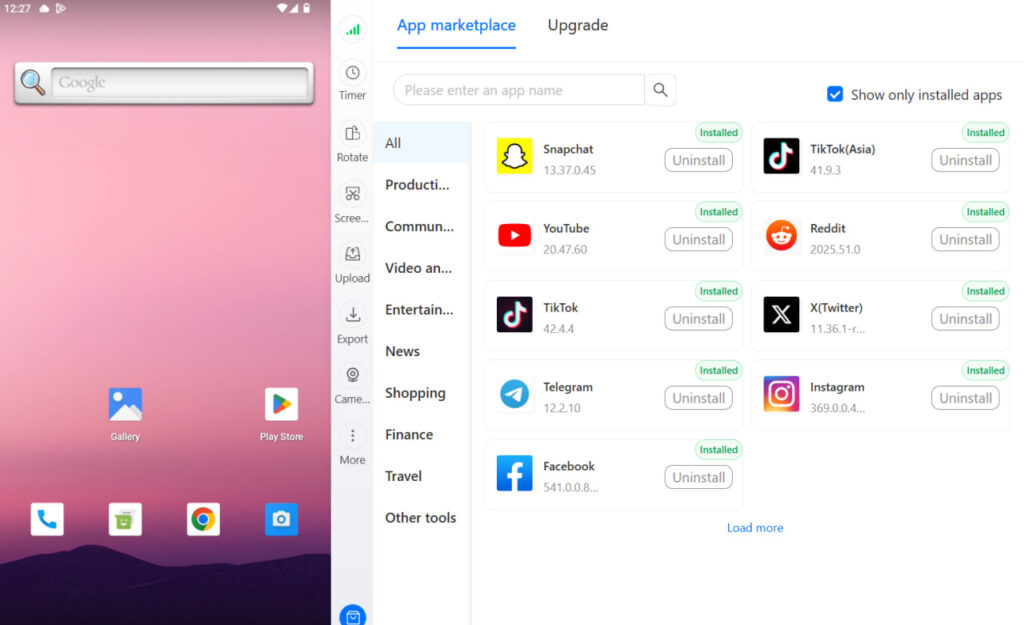
Running each client’s accounts from a dedicated cloud phone for social media gives each account its own real Android device with its own hardware fingerprint, session history, and residential proxy. The best cloud phones for marketing agencies covers how this works in practice, including team access controls so specific people only see the accounts they’re responsible for.
The content workflow above makes your production fast and consistent. The account isolation layer makes that work stick, accounts stay healthy, client work stays separate, and one bad day doesn’t cascade.
Try Multilogin now and add the account layer that your content workflow is missing.
Practical tips for getting the most out of this
Build brand kits before you need them. Set up a new client’s Brand Kit during onboarding, before the first content deadline. You won’t have time to do it well under pressure.
Save your first carousel as a brand template. Once you’ve built a carousel that the client approves, save it as a brand template in Canva. Every future carousel for that client starts from a version that’s already been approved, not from a generic template.
Vary device models across accounts if you’re running multiple cloud phones. Running five client Instagram accounts on five different device models adds an additional layer of authenticity to each account’s identity. The cloud phones built for managing multiple accounts explains why device variety matters for platform detection.
Don’t batch clients together. Create all content for Client A before opening anything for Client B. The mental context switch costs more time than you think, and it’s where copy tone bleeds between clients.
Save the debrief. After each session, export Claude’s debrief notes for that client. Keep them in the same folder as the brand guidelines. Over a few months you build a client-specific content intelligence document that makes every new session faster.
Need to manage multiple social media accounts? Try Multilogin Cloud Phones.
Frequently asked questions About How to Use Claude and Canva Together for Social Media Content
Go to claude.ai, open Settings, then Connectors, search for Canva, and click Connect. Authorize the connection through Canva’s page. Then in any new chat, click the Tools icon and toggle Canva on. Takes under two minutes.
Yes. Without brand context, Claude produces generic output. Drag your brand guidelines PDF into the chat at the start of each session, or paste key brand information as text. Five minutes of briefing at the start saves significantly more editing time at the end.
Yes, with Magic Resize. Once a design is finished, you can resize it to any platform format, such as square post, Story, landscape, LinkedIn, YouTube thumbnail, in one step. This is one of the biggest time-savers in the workflow for multi-platform content.
Connecting Claude to Canva is available on Claude’s free plan. The Canva connector itself is free to use. Some Canva features used in this workflow (Brand Kit, Magic Resize) require a Canva Pro subscription.
Using generic prompts without brand context. “Write me 5 Instagram captions” without any brand information produces content that sounds like every other AI-generated post. Briefing Claude on the brand’s voice, tone, audience, and content pillars before generating anything is what makes the output usable.
Conclusion
The Claude + Canva workflow isn’t a shortcut to content creation, it’s a system that makes good decisions once and executes them repeatedly. The Brand Kit makes visual decisions once. The Claude brand briefing makes voice decisions once. After that, production is fast because you’re executing a framework, not rebuilding it.
What the system doesn’t do is keep client accounts separated at the device level. That’s a different problem, and it’s the one that actually determines whether your clients’ accounts stay healthy. The content workflow and the account isolation layer both need to be in place for professional social media management to work at scale. One without the other leaves a significant gap.
Try Multilogin now, real Android devices in the cloud for every client account, managed from one desktop alongside your Canva and Claude workflow.