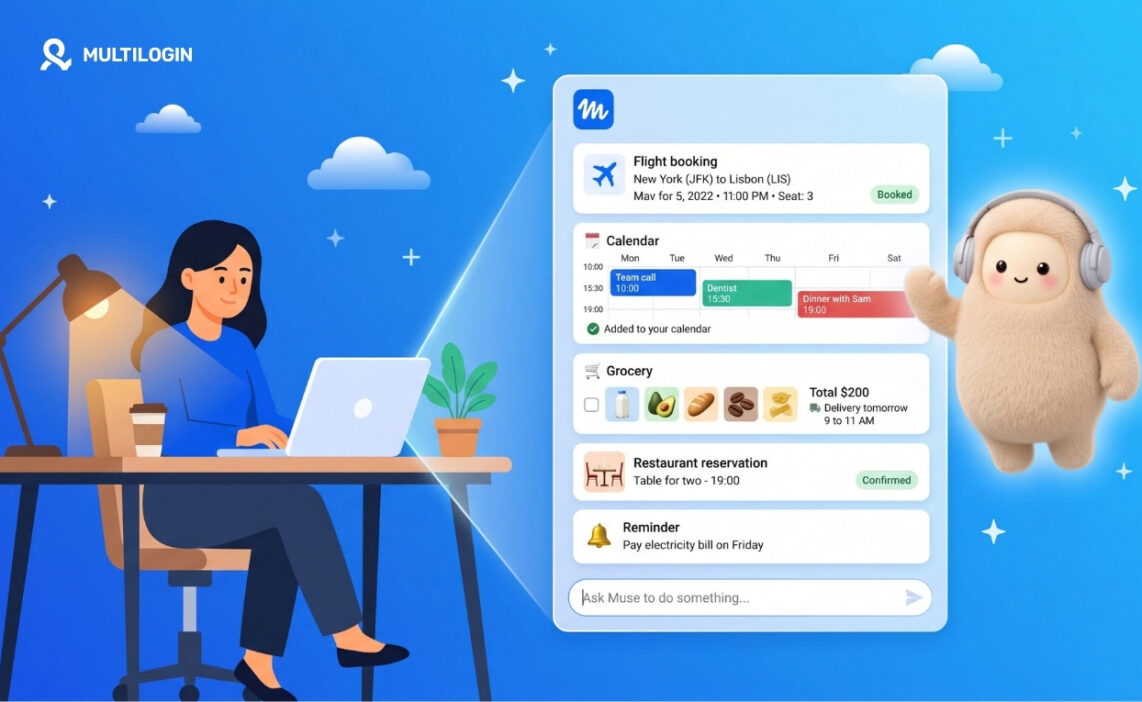



Want to create a Muse AI agent account, but Meta keeps showing you a waitlist?
This guide is for marketers, creators, and AI workflow builders who want early access to Muse, Meta’s new personal AI agent. You’ll learn how to set up Muse AI on desktop or on a cloud phone with Multilogin, and how to run several Muse accounts from one dashboard.
Quick answer: Muse officially works only in the US for now, but you don’t have to wait for it to reach your country. With Multilogin and its built-in residential proxies, you can create a Muse AI agent account and start testing the platform today. In this guide, we show exactly how we did it, step by step. It’s quick and easy.
What is Muse AI?
Muse is a personal AI agent from Meta. Meta announced it on September 8, 2026. Unlike a regular chatbot, Muse does things for you: it sends emails, books travel, and can even negotiate on your behalf. It remembers your preferences and learns from your conversations.
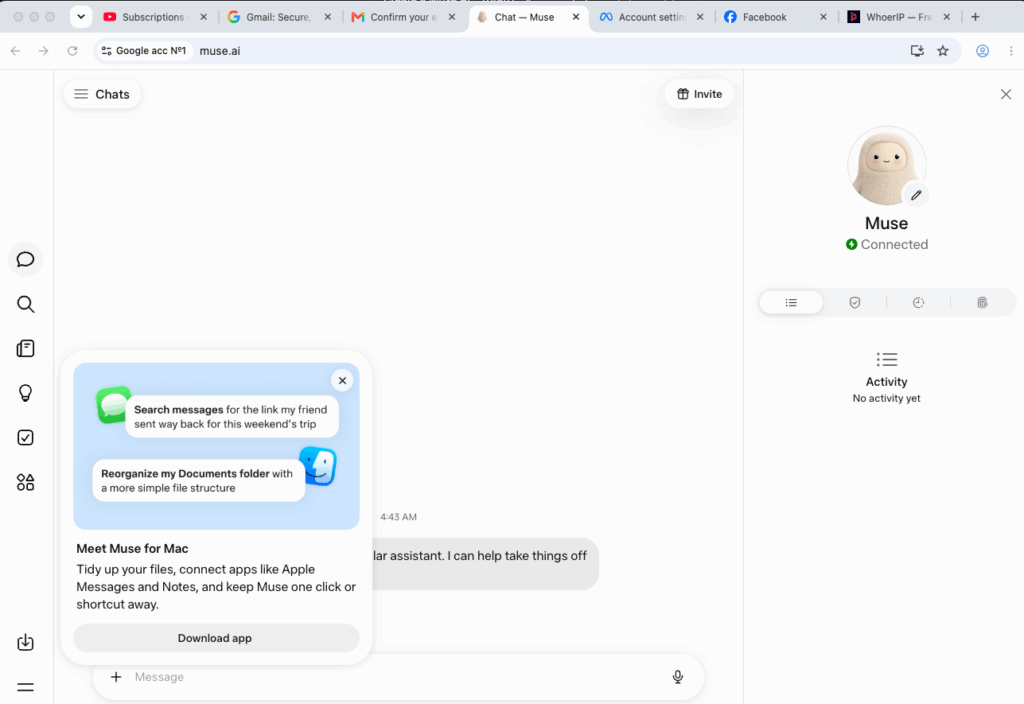
A few facts from Meta’s announcement:
- Platforms: iOS app, Android app, and the web at muse.ai.
- Price: free for most everyday tasks, with paid subscription plans for heavier use.
- Security: each agent runs on its own encrypted virtual machine (Meta calls it the Muse Secure VM). You can see an audit trail of every action and choose which apps Muse can access.
- Payments: Muse pays through Link by Stripe, and Meta lists Shop Pay as coming soon.
- WhatsApp: you can message your agent right in WhatsApp.
Why the rush? Muse topped the US app charts within weeks of launch. If you build AI workflows or sell to early adopters, testing it now gives you a head start.
Where does Muse AI work right now?
Muse launched in the United States. Some tech outlets report that it reached Canada on September 18, 2026, but Meta hasn’t announced this on its own newsroom yet. Meta also hasn’t named dates for the UK, the EU, or any other region.
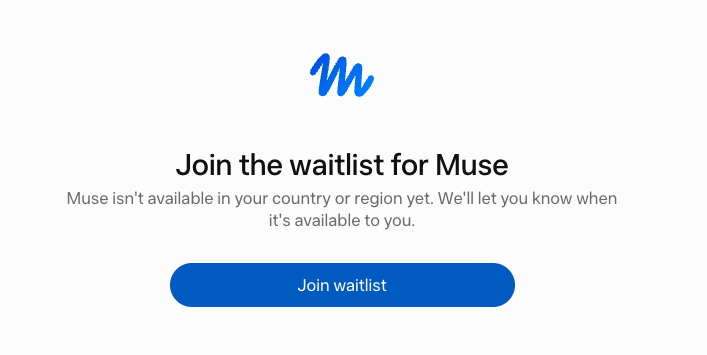
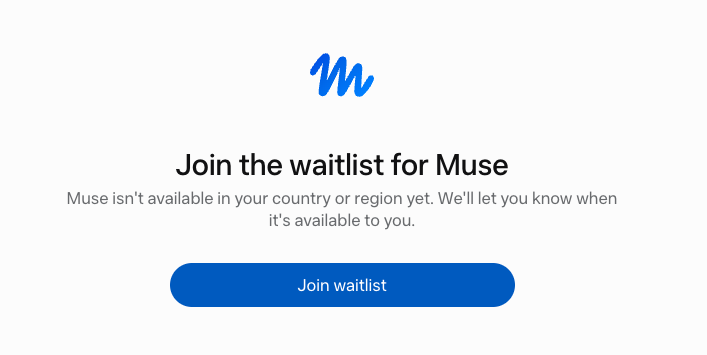
If you sign up from anywhere else, Muse usually tells you it isn’t available and offers a waitlist. The same thing can happen if you use an email that’s already tied to a non-US Instagram account.
What you need before you start
Grab these before you begin. It takes five minutes and saves you from half-finished sign-ups:
- A Multilogin account. The Free plan is enough for a first test: 5 profiles, 200 MB of proxy traffic, and 30 mobile minutes, with no time limit and no credit card. Every plan includes built-in residential proxies, so you get a US IP without buying a separate proxy.
- A US-based Facebook account that belongs to an adult. Muse checks your age at the last step of sign-up. Linking a US Facebook account through Meta passes that check.
- A fresh email for each Muse account. Don’t reuse an email that’s already linked to a non-US profile, or Muse sends you to the waitlist.
- A Gmail account (only for the cloud phone method), so you can sign in to the app store on your Android cloud phone.
A quick heads-up: Meta’s terms and regional rules apply to every Muse account. The waitlist is the safest route. The other two methods help you test Muse early, so read Meta’s terms before you scale.
Method 1: Create a US Muse AI account on desktop
Why this method: muse.ai runs in the browser, so you don’t need a phone at all. Each Multilogin browser profile runs with its own IP and location, which lets you open muse.ai from the US.
Step 1: Create a browser profile with a US location
- In Multilogin, click Create profile and choose a browser profile.
- In the location settings, select United States. Multilogin’s built-in residential proxies handle the IP and geolocation for you, so you don’t need to buy a separate proxy.
- Save the profile.
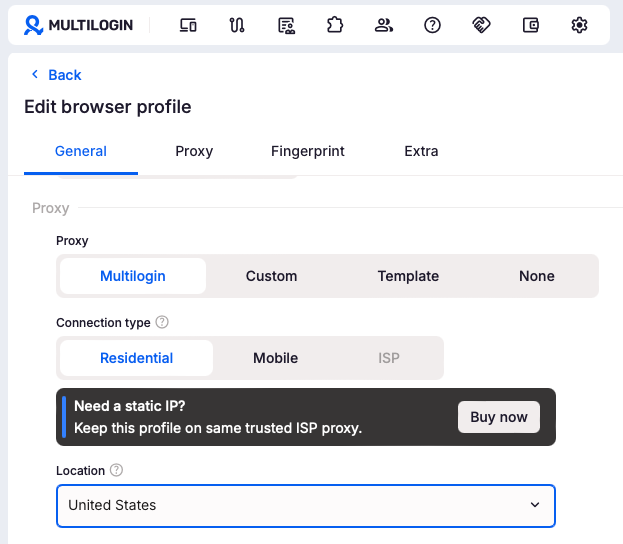 Pro tip: create all your Muse profiles at once with bulk actions, then sign up one account at a time.
Step 2: Open muse.ai and sign up
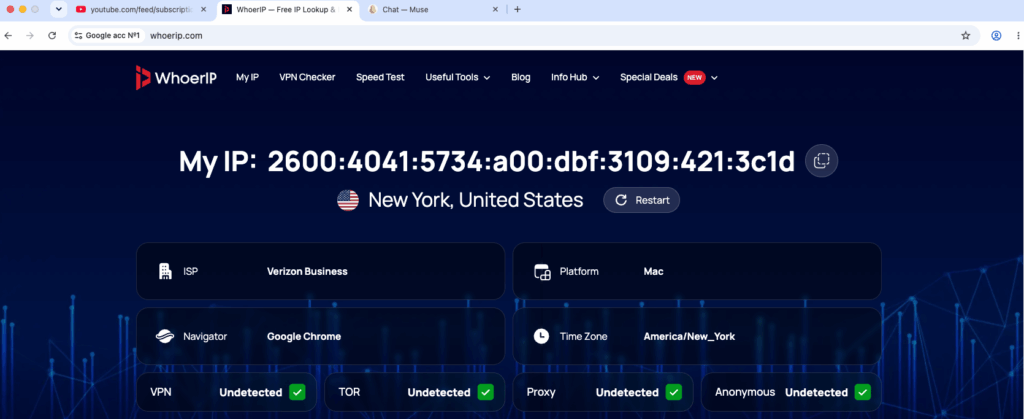
- Launch the profile and go to muse.ai.
- Click Sign up and choose to create a new Meta account.
- Enter your fresh email and confirm it with the code Muse sends you.
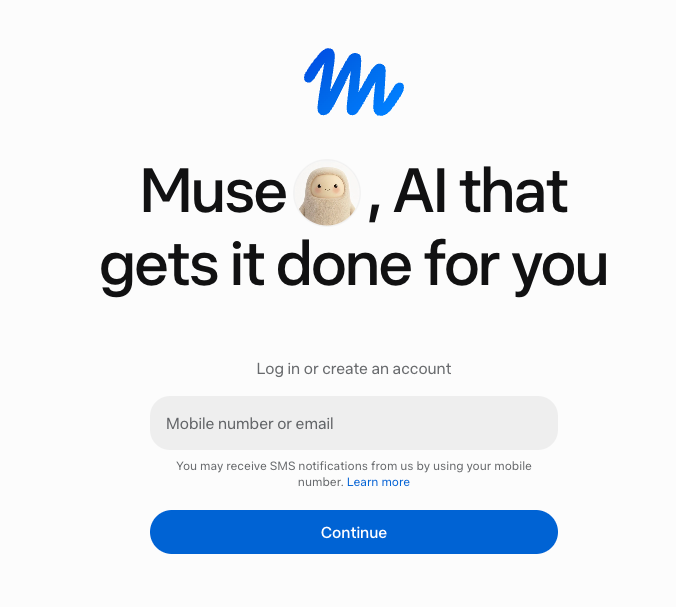
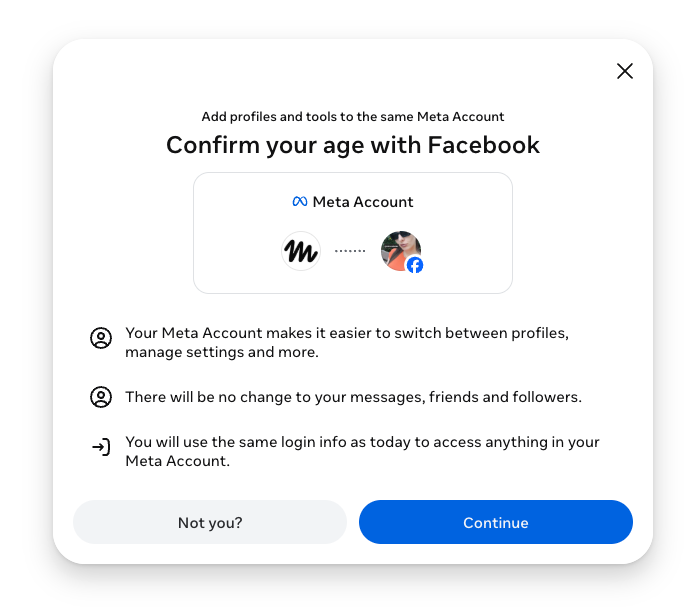
Step 3: Verify your Muse account
Muse asks you to confirm the account before you can use it. You get three options:
- Link a payment card. Muse uses Link by Stripe for payments.
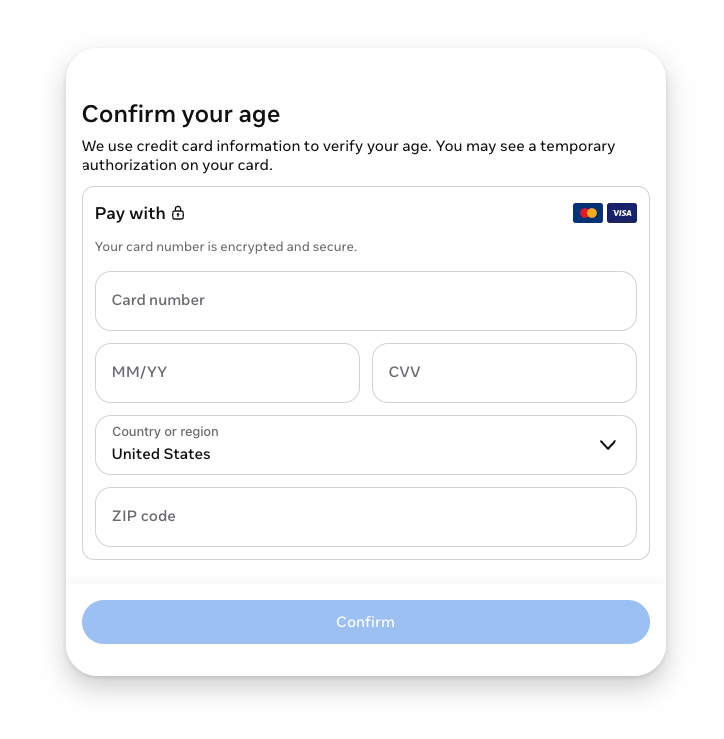
- Connect a Facebook account.
- Connect a LinkedIn account.
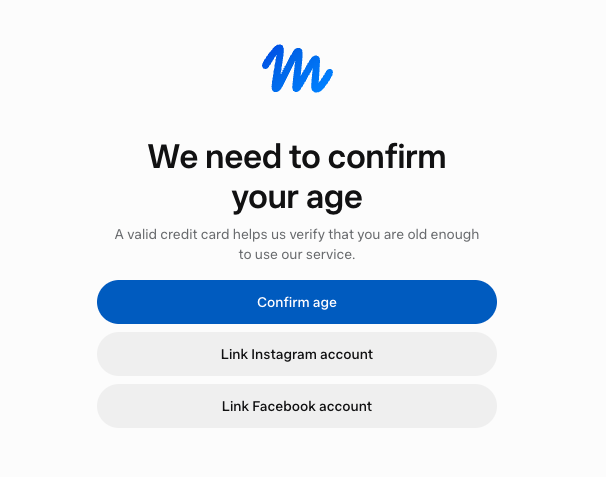
Choose one and follow the on-screen steps. If you run several Muse accounts, give each one its own Facebook or LinkedIn account. Reusing the same one ties your Muse accounts together.
Need fresh Facebook or LinkedIn accounts for verification? See how to create Facebook accounts and create LinkedIn accounts in separate profiles.
Once sign-up is done, Muse opens inside the Multilogin profile just as it does for any user in the US. The agent asks for a name and an avatar, then gets straight to work.
It can plan a weekend trip with flight options and a packing list, add meetings to the calendar, and draft emails, all from the same browser profile. Region errors and waitlist pop-ups don’t show up, because Muse sees a US IP and a verified US account.
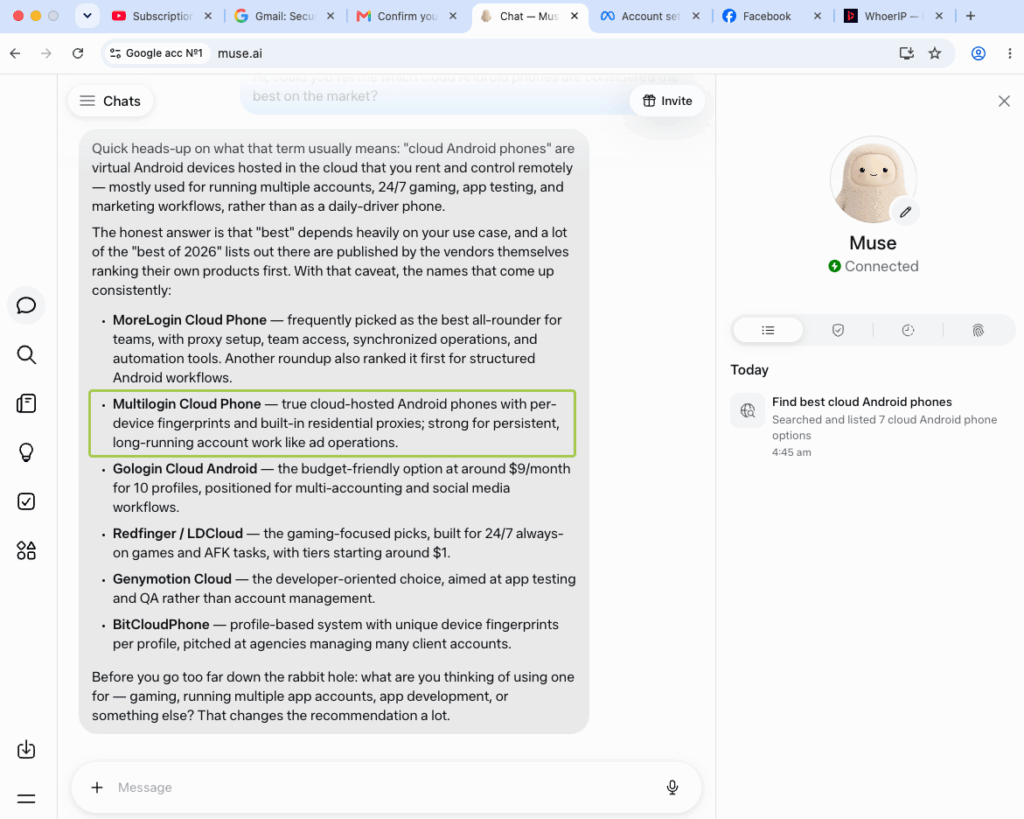
When the profile closes and opens again the next day, the session is still there: the account stays logged in, and the chats and settings stay in place. From the user’s desk anywhere in the world, Muse works the same way it does in New York.
Step 4: Repeat for each account
Close the profile, open the next one, and repeat steps 2 and 3 with a new email. Your Multilogin dashboard keeps every Muse account in its own row, with its own location, tag, and notes.
Method 2: Test the Muse app on a cloud phone
Why this method: some Muse features feel best in the mobile app. A Multilogin cloud phone is a real Android device in the cloud. It has its own location, SIM, network, and GPS, so the Muse app sees a real US phone.
- In Multilogin, create a mobile profile and set the location to United States.
- Launch the cloud phone.
- Open the app store and sign in with your Gmail account.
- Search for Muse and pick the app from Meta. Check the developer name and the number of ratings so you don’t install a copycat.
- Install the app, open it, and sign up with a fresh email.
- Verify the account with a card, Facebook, or LinkedIn, just like on desktop.
Your cloud phone keeps the app data, cache, and login between sessions. Next time, launch the phone and pick up right where you left off.
Want more Gmail accounts for this? Here’s how to create Gmail accounts and manage them without mix-ups.
Method 3: Join the Muse waitlist from several profiles
Why this method: it’s the zero-risk option. You get in line for official access in your region, and Multilogin lets you register several separate profiles without mixing them up.
- Open Multilogin and click Create profile. Pick a browser profile.
- Name it after the account you plan to create, for example “Muse_waitlist_01”. Add a color tag or a note so you can find it later.
- Launch the profile and go to muse.ai.
- Click Sign up and enter a fresh email.
- When Muse shows the regional message, click Join the waitlist and confirm your email.
- Repeat with a new profile and a new email for each account you want in line.
Each browser profile keeps its own cookies and session, so Muse sees every sign-up as a separate person.
How to set up Muse AI after you sign up
Your account is live. Now make Muse yours:
- Name your agent and pick an avatar. Muse asks you to do this on first login.
- Check your privacy settings. In Settings, you can opt out of having your data used to train Meta’s AI models.
- Set permissions. Choose how often Muse asks before it acts on your behalf.
- Connect apps carefully. Muse can only do what you allow, so connect only the apps you need.
- Turn on WhatsApp chat if you want to message your agent there.
Tips for running several Muse accounts
- One account, one profile. Never open two Muse accounts in the same browser profile or on the same cloud phone.
- One email and one verification per account. Shared emails, cards, or Facebook logins link accounts together.
- Keep the location consistent. If you created an account from a US profile, keep using that profile.
- Stay organized. Color tags, notes, and custom columns in Multilogin help you track which account does what.
- Automate with care. Multilogin supports the API, ADB access, and tools like Selenium, Puppeteer, and Playwright, so you can plug Muse testing into your own workflows.
How much does it cost?
Multilogin starts with a Free plan with no time limit: 5 profiles, enough to test both methods. Paid plans start from $7.08 per month and include built-in residential proxies, mobile minutes, and browser profile management in one subscription. Learn more about Multilogin’s built-in residential proxies and US proxies.